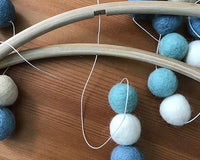
Making a felt ball mobile or any kind of baby mobile as your diy project may sound like a daunting task and lot of us just give up the whole idea of even thinking about it.
If you are located in the 🇺🇸 United States 🇺🇸 and need felt balls and other items to make your nursery mobile, you can visit our USA store.
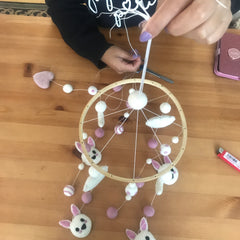
If you want to learn on how to make a nursery mobile on a round wooden mobile frame, I have a new tutorial for you.
I used to think the same and never thought on learning on how to make a felt ball mobile.
Note: Before going any further, I urge you to read this diy guide from our USA store if you are from USA, Canada. This is simply because, we constantly update these guides and you will benefit more ,if you go to relevant website.
For rest of you, just carry on reading below.
Get our baby mobile for nursery room DIY KIT now.
But I will tell you a secret. It’s not that hard at all. May be just a little bit if this is your first time.
In fact, if you follow the below steps, you will be surprised how easy it is to make a baby mobile as your diy baby mobile project.
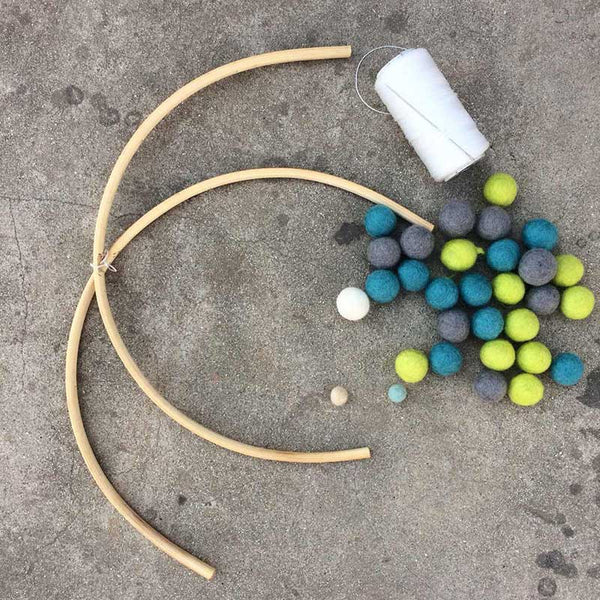
What is needed to make felt ball mobile?
1. Pencil and paper - Before you do any design work, the best practice is to make a sketch and make sure you are happy with what you see in your drawing.
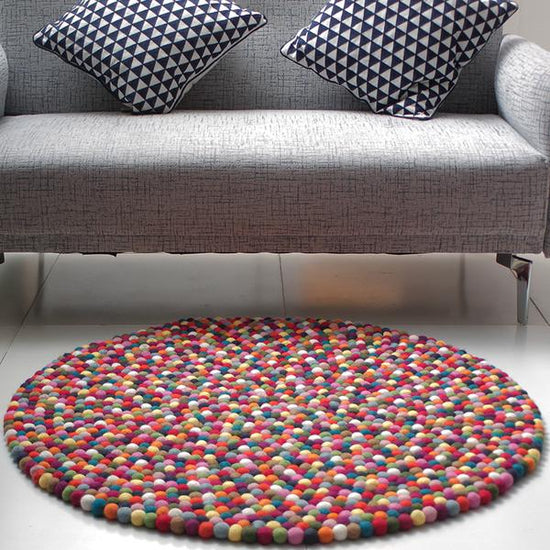
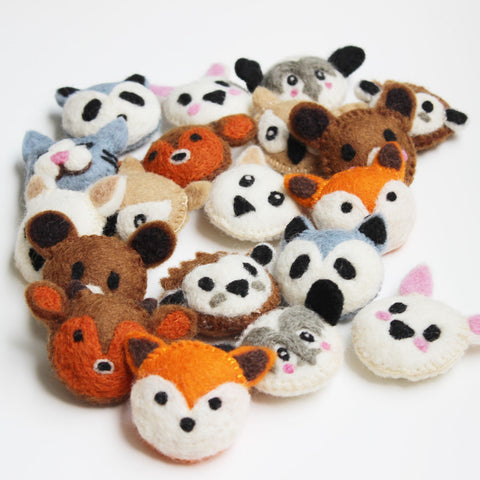
2. Felt balls and other beads - There are plenty of decor items you can use for your diy baby mobile. Most common item is felt balls, polka dot and swirl balls, felt hearts, felt stars, felt animal heads and felt glitter balls as they are light, firm and can be found in different colours and sizes.
We recommend you to mix the felt balls from sizes 1cm to 2.5cm and if you do want to have some odd larger balls, then you can also go for 3 cm felt balls.
Similarly, you can add other types of beads with glitter, silver or gold attributes. It’s entirely up to you. Again, go back to your sketch on the paper and see which particular balls fit the best on your design plan.
If you are located in the 🇺🇸 United States 🇺🇸 and need felt balls and other items to make your nursery mobile, you can visit our USA store.
3. Cord/Thread - You can use any kind of cord or thread as long as they are strong and not too thick.
The baby mobile frame that we use in our example has holes that are about 1mm thick. So any thread/cord that are less than 1mm thick should be fine to make felt ball mobile.
We use white nylon cord for our felt ball mobiles.
4. Baby mobile frame - This is probably one of the most critical items in your diy baby mobile project.
Again, you probably would have decided what kind of baby mobile frame you are going to use to make the mobile by now.
While you can find various designs, the arch shaped baby mobile frames are the most common ones, in our experience.
This is simply because it’s easy and most importantly, when you hang it, it will naturally balance due to it’s structure.
5. Yarn Needle - Any needle is fine as long as you can fit your cord through the needle head and also through the baby mobile frame holes.
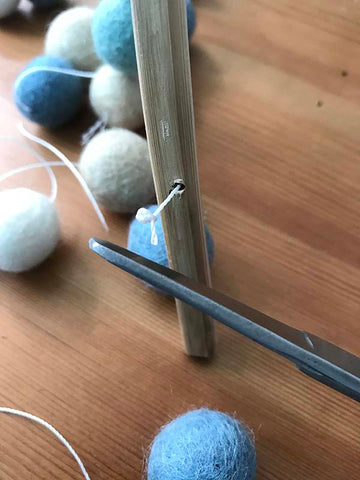
6. A pair of scissors - Any kind of scissors is good. We need to use the scissors to cut the cords and also during the finishing stage of our felt balls mobile diy project.
7. Measuring tape - This is one of the most important tools that you need.
You’ve done all your sketch work and measurements on the drawing board and you need the measuring tape to bring that into real life.
If you are located in the 🇺🇸 United States 🇺🇸 and need felt balls and other items to make your nursery mobile, you can visit our USA store.
8. Marker Pen - A marker pen, whether a permanent or temporary is just fine.
We will need this to put a mark on our cords to help us see where we are going to make the knots as we make our felt ball mobile.
Get our baby mobile for nursery room DIY KIT now.
Step by step guide on how to make felt ball mobile for nursery room
1. Draw an arch on a paper - Like any diy project, learning, how to make felt ball mobile for your little one’s cot is no different. Drawing and planning ahead on a sketch board or any piece of paper is always going to give you the result you want. You may skip this step and go straight to step 6, if you feel comfortable, but we have referenced these steps in many of our steps from 6 onwards.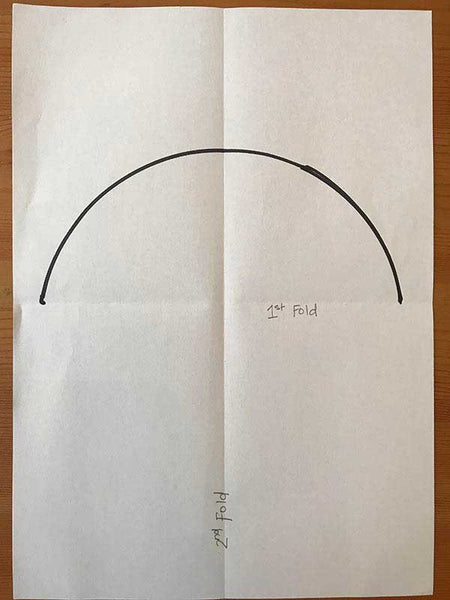
2. Make some lines by folding paper – This helps us plot the lines for the garlands on the felt ball mobile.
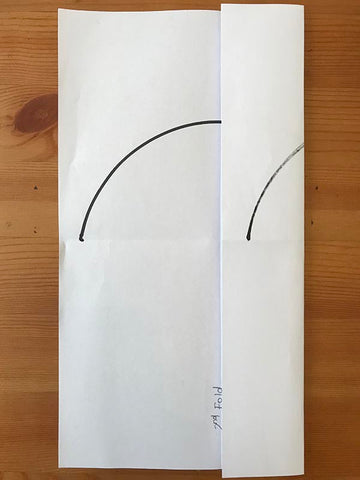
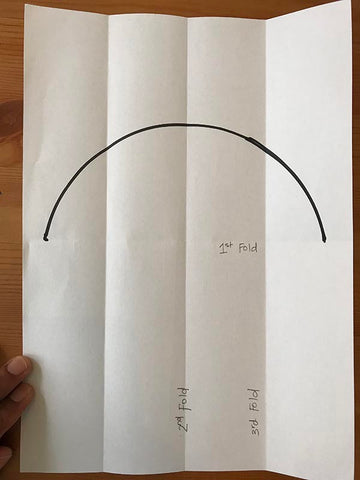

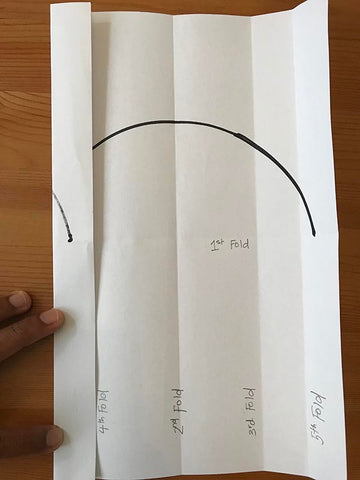
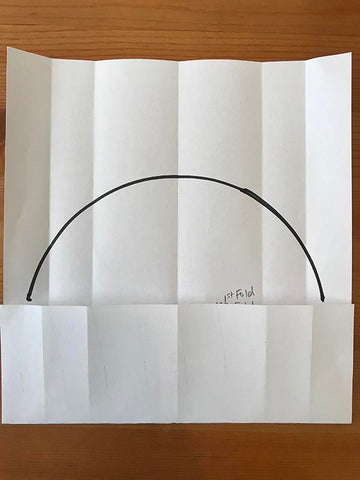
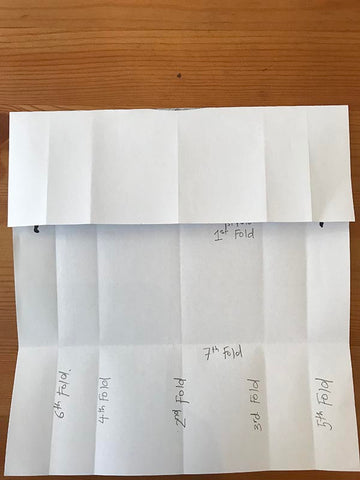
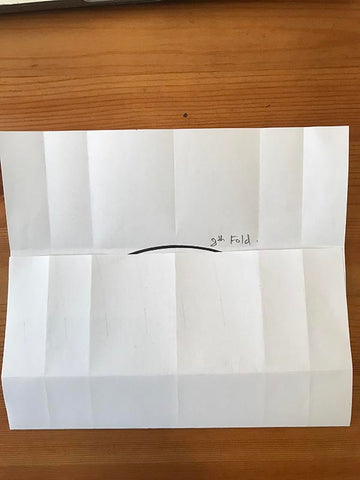
3. Mark the spots for garlands - Now that we have made all the imaginary lines, it’s time to mark the points.

4. Draw the cord for the felt ball mobile .

5. Design the garlands for felt ball mobile - In our example, we will be making Mint Magic felt ball mobile where we will be using 2 cm felt balls and four different colours, 35,40,41 and 50 from our felt ball colour chart.
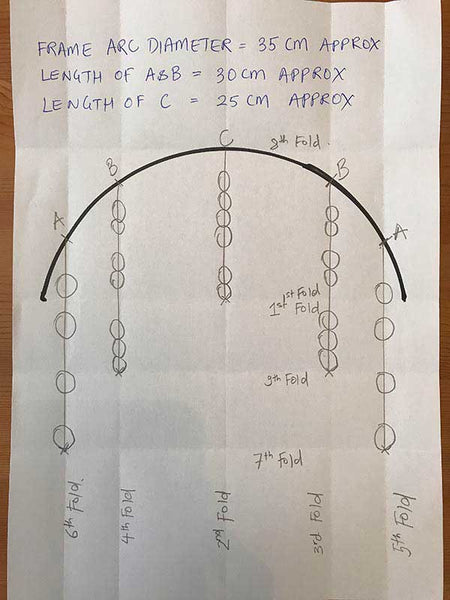
6. Prepare the string/cords to make cot mobile – If you go back to our design, we have shown you the length of the cord for each section of the felt ball mobile.
If you are located in the 🇺🇸 United States 🇺🇸 and need felt balls and other items to make your nursery mobile, you can visit our USA store.
It is recommended that you add extra 30cm length on the length assigned for each section while preparing the cord.
Example - For section A, we have assigned length 30cm. So make sure when you cut the cord, the length is 30cm + 30cm = 60cm (I did 50cm so was little bit short of string for section C.).
To make a complete a felt ball mobile, you will need 4 x As, 4 x B’s and 1 x C cords. So all together, we will need 8 x 60cm cords and 1 x 55cm string/cord. For simplicity, we will just have 9 of 60cm cords. ☺.
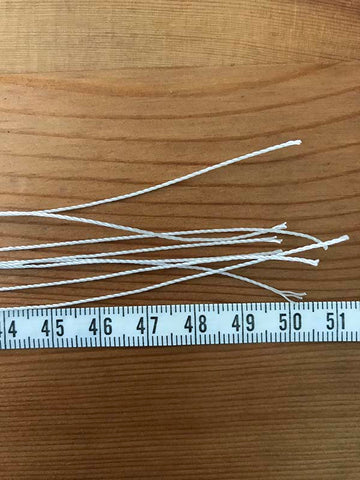
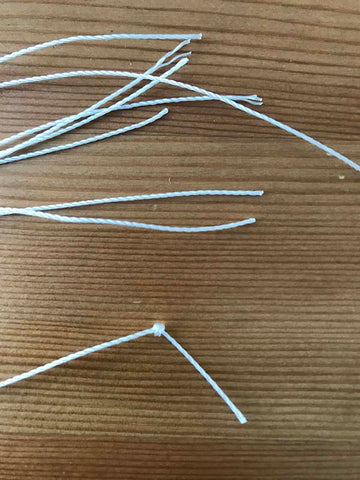
7. Make a knot at one end (bottom) of each cord – Make a double knot on one end of each of nine cords.
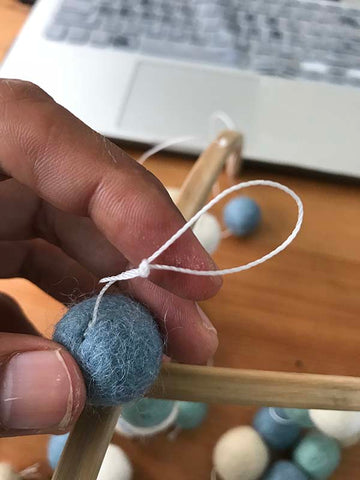
7.1 To make a knot, simply make a loop as close to the end of the string as shown on the photo.
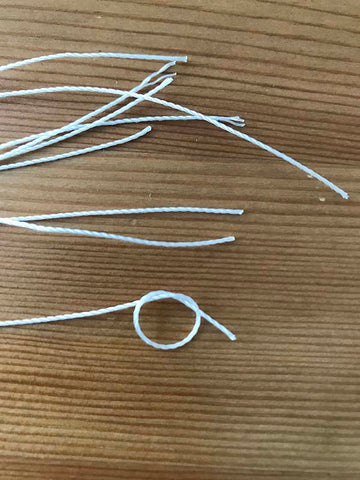
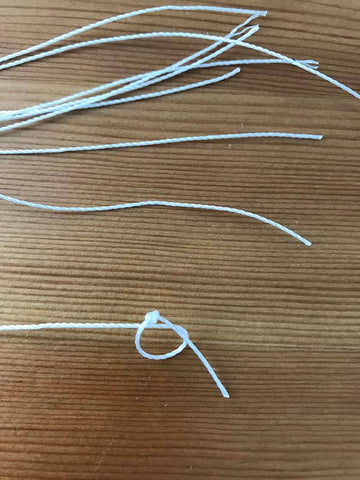

7.2 Repeat one more time and make the second knot at the same spot where the first knot is. Repeat this process on all nine cords.
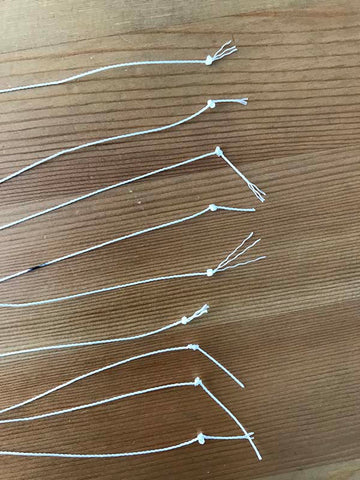
8. Make Garland – For this example, we will work on four of outer most garland (A’s).
8.1. Select one of the nine cords that you had prepared earlier, on step 6.
8.2. Select the felt balls with the right colours to make the first garland (section A).
8.3. Thread the cord, through the yarn needle head.
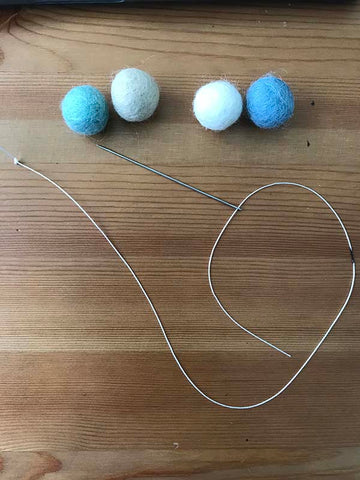
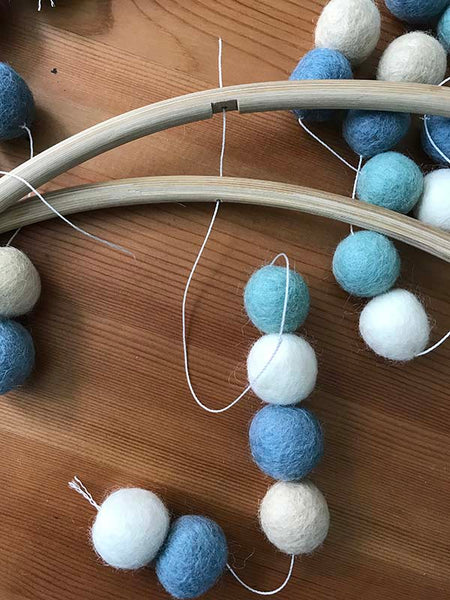
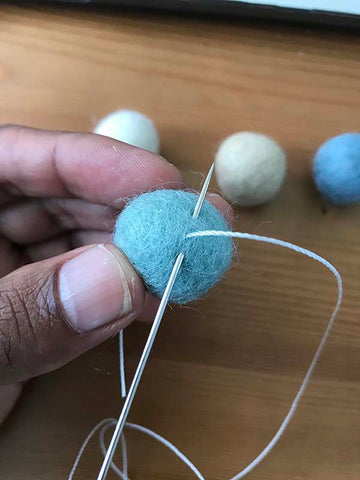
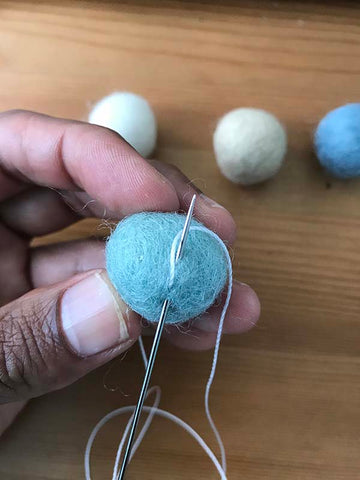
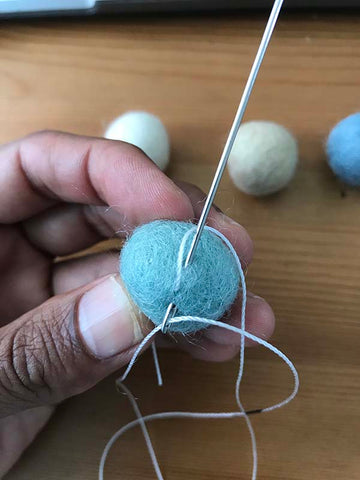
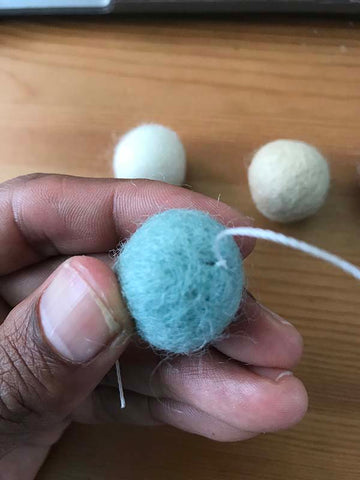
8.4. Select the first felt ball and sew it right through the centre of the felt ball and bring it all the way to the starting point, where the knot is.
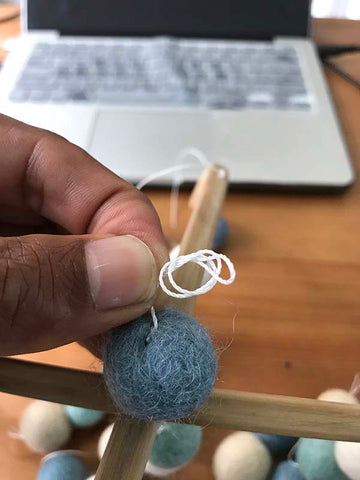
8.5. Thread the needle right underneath where the cord has come out, make a tiny loop, taking the cord just underneath the needlepoint and tighten the loop by moving the needle away from the knot.


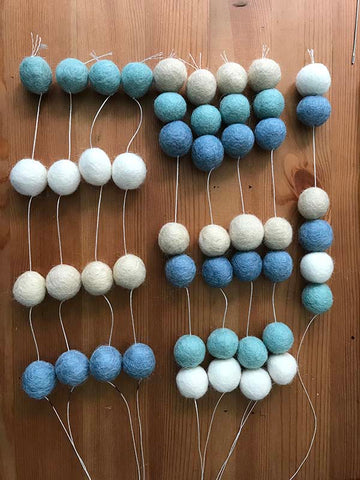
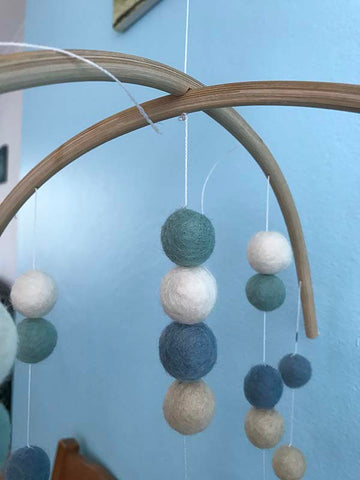
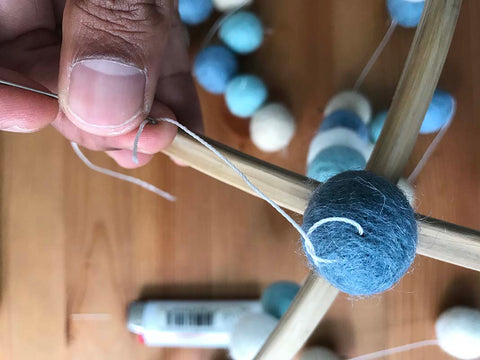
9. Hang the felt ball garland on the baby mobile frame:


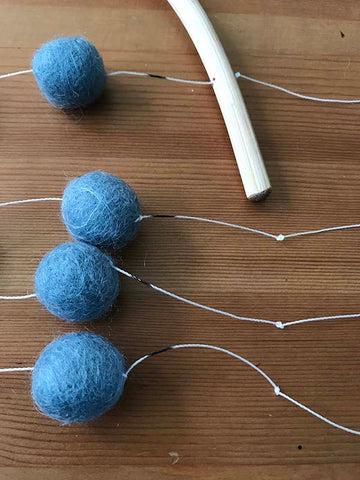

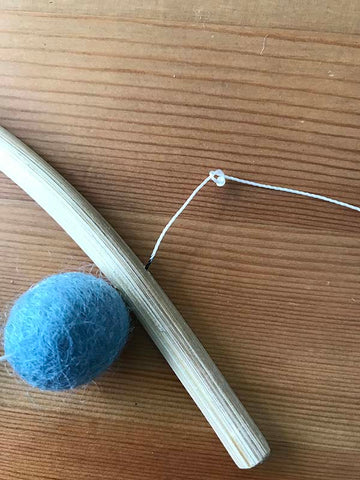

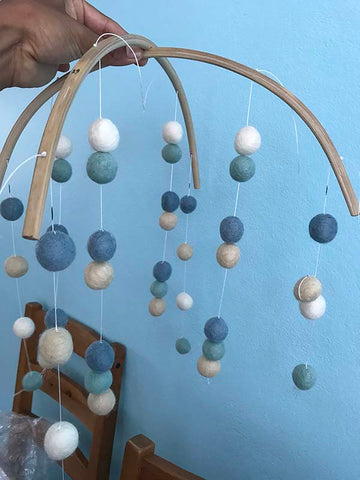




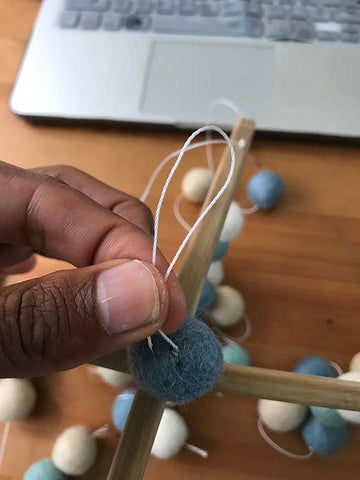
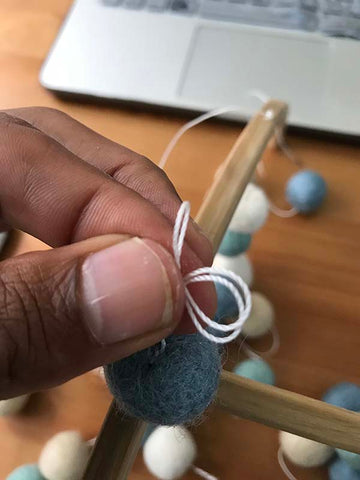
10. Make a loop to hang the felt ball mobile.
11. Finishing on how to make felt ball mobile.
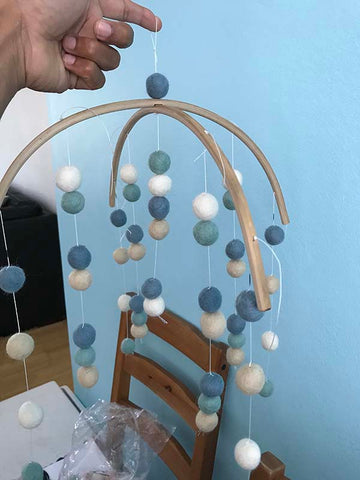

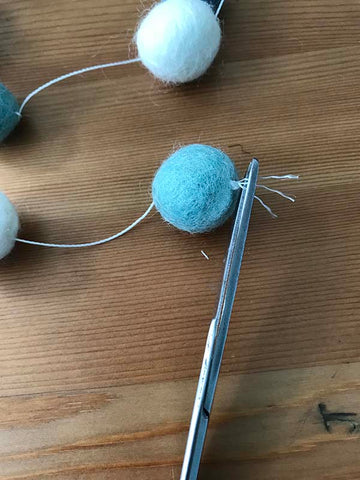

This is it. It’s little bit long, but hopefully, you’ve learnt on how to make a felt ball mobile. You may find some of the steps unnecessary or have better ideas on how to make these cot mobiles.
If you want to learn on how to make a nursery mobile on a round wooden mobile frame, I have a new tutorial for you.
We would love to hear from you on some of the other ways to make the felt ball mobile.
If you are located in the 🇺🇸 United States 🇺🇸 and need felt balls and other items to make your nursery mobile, you can visit our USA store.
Get our baby mobile for nursery room DIY KIT now.
You can also see our felt ball mobile collections to get some design inspirations. Thank you for reading and hope this will help you in your next felt ball mobile diy project.
