Last year we published a video on how to make a felt ball garland the proper way. Lots of you liked it and thank you very much for that.
This time we have made another video on how to make felt ball garland under 5 minutes.
If you are located in the 🇺🇸 United States 🇺🇸, you can read the same blog on our USA website.
You will see the video at the bottom of this page.
We made this 2 meter felt ball garland within 5 minutes and this was done quite slowly so our viewers could understand.
So let's gets started!
What are needed to make felt ball garland?
1. Felt Balls
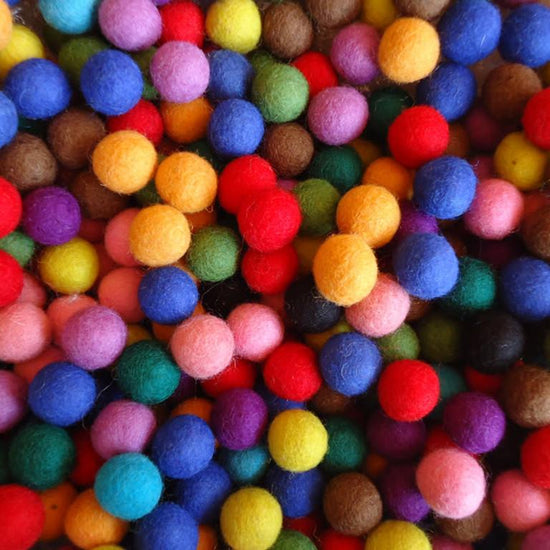
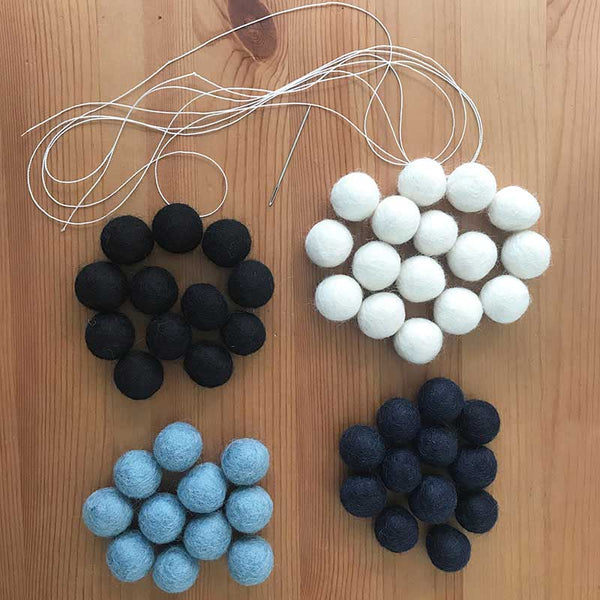
To make felt ball garland, you will need felt balls. Most commonly 2 cm felt balls are used to make felt ball garland.
If you want to add bit of variations on your felt ball garland, try using some different sized felt balls like, 3cm or 2.5cm. And most importantly, choose the right colour combination of felt balls for your felt ball garland project.
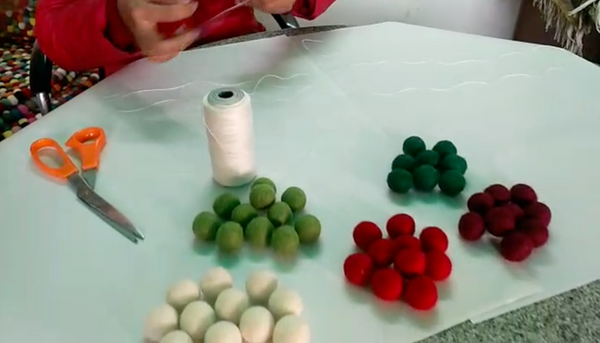
For this video, we have used 2 cm felt balls in some bright colours (
White, Bright Red, Blood Red, Lime Green and Forest Green ), for Christmas theme.
There are different felt ball colours and sizes available if you want to experiment with them including some glitter felt balls.
2. Cord or String
There is not hard and fast rules on what kind of cord or string you need to use when making a felt ball garland. We just recommend you to use something not that thick but strong enough to hold the felt ball garland.
Typically, you can use nylon string, even fishing line, or cotton thread is great for this kind of project.
3. Needle
We advise you to use a tapestry needle with a medium to large head. It depends on the thickness of the string that you are going to use for your felt ball garland so needle with larger head is probably is a safer option.
4. Scissors
Any kind of scissors is good for this felt ball garland diy project.
5. Measuring Tape
This is a great tool to have to make sure you have the right length cord or string to make the felt ball garland.
We advise you to have the string at least 20 cm longer than your planned felt ball garland. This allows you to make a loop or hook if you like, to hang the garland.
How To Make Felt Ball garland quickly?
Step 1. Choose the right colours
Make sure you decide on the colours before you begin your felt ball garland project. Just play around with the felt balls and put them in different colour orders until you are satisfied with the sequence.

Make a note of the colours and the sequence on a piece of paper once you are completely satisfied. As a guide, you will need about 15-20 felt balls for every 1 meter felt ball garland.
You can use this tool to get an idea on how many balls you need for different length felt ball garlands.
Step 2. Cut the cord/string to the desired length.
If you wish to make a felt ball garland that is two meters long, make sure you have about 15cm extra length on each side. So you will need about 230cm long thread.
If you are located in the 🇺🇸 United States 🇺🇸, you can read the same blog on our USA website.
Step 3. Make the first loop on one end of the string.
This is entirely up to you on how you want to do the loop. If you need some help, you can watch step 2 from our previous post.
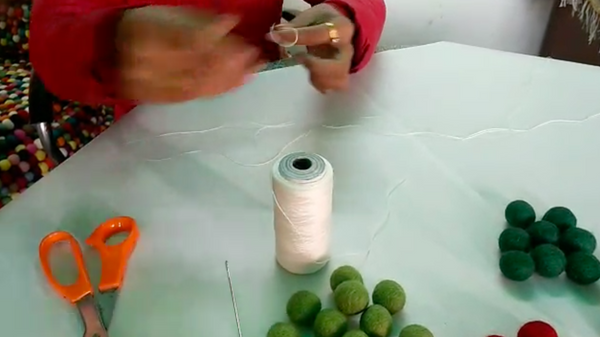
Step 4. Start threading
Now just thread the needle, and string up your felt balls. Threading up the felt balls are fairly easy process. Just make sure you thread the felt balls from the centre.
Keep threading all the felt balls in the right color sequence until all the felt balls are threaded.
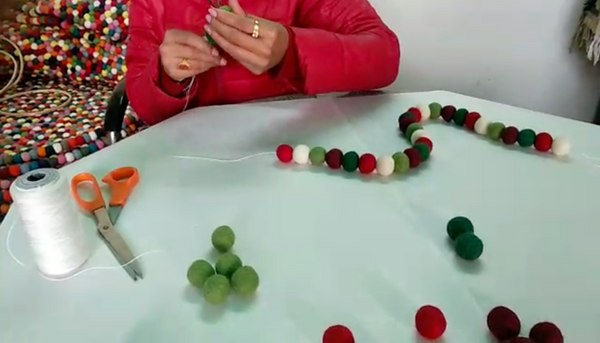
Step 3: Make another loop at the other end of the string
When you have finished threading all the felt balls through the string, remove the needle from the string and make a loop at the other end of the string.

Step 4: Spread the felt balls evenly on the string.
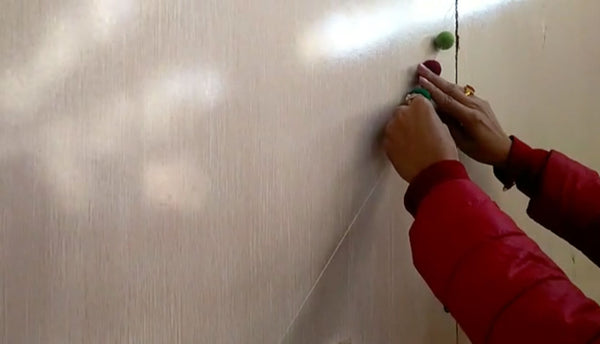
Now that we have all the felt balls threaded in the string and got loops on both ends of the string, it's time to hand the garland on the wall.
Once you've hung the garland on the wall, start spreading the felt balls evenly along the string .
It's really up to you, how much space you want to leave in between the felt balls when you thread them through the string.
As a guide, we recommend you to leave about 3-4 fingers gap between the felt balls. See video for guide.
Step 5. Finishing That's it.
You have your felt ball garland ready. The great thing about this garland is, once you've finished using it, you can alway re use the felt balls for other purposes.

Simply cut the string at on end and just remove the felt balls.
If you are located in the 🇺🇸 United States 🇺🇸, you can read the same blog on our USA website.
Please leave a comment and share this post if you think is going to help others with their diy project.
As always, thank you for reading.
If you are located in the 🇺🇸 United States 🇺🇸, you can read the same blog on our USA website.
